Running scripts
Contents
Scripts in MIPAV
You can run a script either using the Scripts toolbar or via the Scripts>Run Script menu.
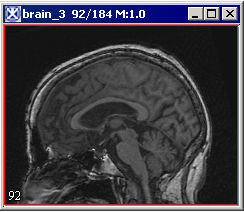
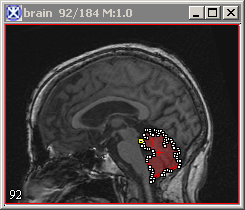
If you are running the script via the Scripting toolbar and have at least one image open and selected, the script will automatically apply to that active image. Here, the active image is the image that is currently selected, refer to Figure 12.
To run scripts from the Scripts toolbar
1 Open an image of interest and VOI, if needed.
2 Select a script from Current Script in the scripting toolbar, then click the Run the Selected Script icon. See Figure 13.
3 MIPAV automatically performs all of the actions in the script on the active image.
If the script requires more than one image or VOI, it will pop up the Script Execution Setup dialog box, where you can add more images and VOIs to the script procedure. Refer to "To run scripts from the Run Script menu" and Figure 14.
1 Call Scripts > Run Script from the main MIPAV menu.
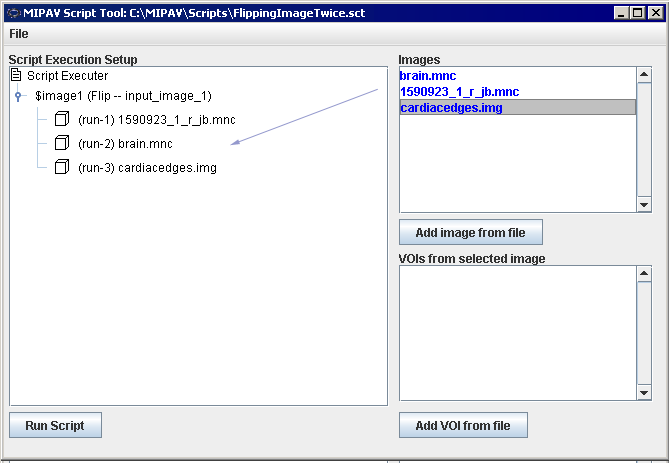
2 Select a script you wish to run and press OK. The MIPAV Script Tool dialog box opens. Refer to Figure 14.
3 Add images to the Script Execution Setup, refer to "Adding images to the Script Execution Setup".
4 Add VOIs to the Script Execution Setup, if needed. Refer to "Adding VOIs to the Script Execution Setup".
5 Repeat step 3 and step 4 for as many images and VOIs on which you want to run the script.
6 Press Run Script.
7 MIPAV automatically performs all of the actions in the script on the images indicated in the Script Execution Setup dialog.
Adding images to the Script Execution Setup
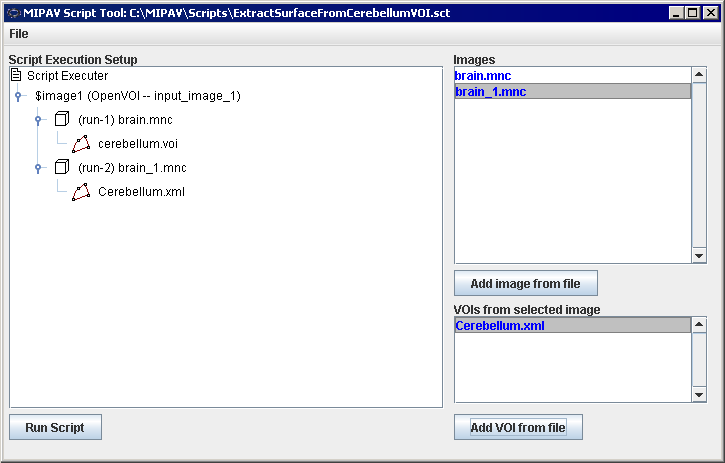
1 Use the Add Image from File option to choose the images and add them to the dialog box. Selected images appear in the Images window. See Figure 14. Images which have already been opened in MIPAV also appear in the Images window.
2 Use the mouse to drag selected images from the Images window to the Script Execution Setup. Arrange the order of the images.
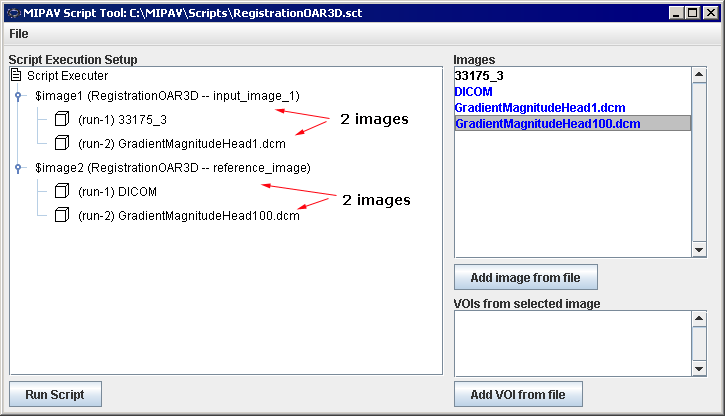
3 If each script execution requires more than one image (e.g. you are applying algorithm(s) to Image 1, and then to Image 2), make sure that you add the same number of images under $image 1 and $image 2 in the Script Execution Setup. The same is also applied to VOIs. Refer to Figure 15.
4 Press Run Script.
5 Multiple images assigned to the same script will be used for separate execution of the chosen script.
Adding VOIs to the Script Execution Setup
1 Add images to the Images window and then to the Script Execution Setup window.
2 Add one or more VOIs to the VOIs from Selected Image window. In order to do that, click the Add VOI from File button and then select a VOI.
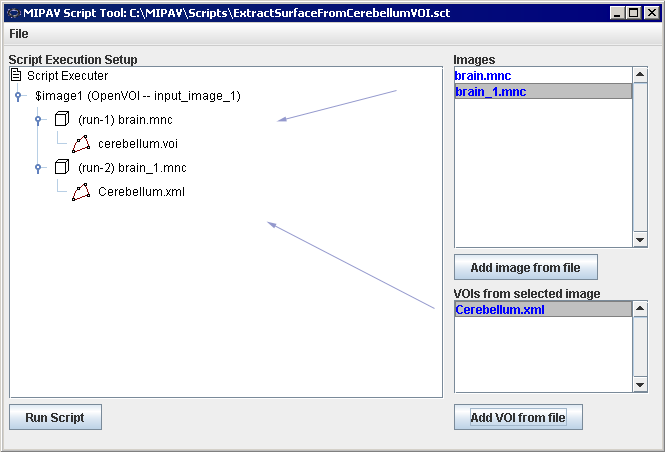
You don't need to manually associate VOIs for those images that already have associated VOIs. Those VOIs appear in the Script Execution Setup window automatically under the corresponding image.
3 For those images that don't have linked VOIs, add VOIs manually by dragging files from the VOIs window to the designated image in the Script Execution Setup. Linked VOI is a result of
OpenVOI() action in the script. Refer to Figure 16 for details.
4 Press Run Script.
5 Multiple images and VOIs assigned to the same script will be used for separate execution of the chosen script.
After assigning an image or VOI to a script in the Script Execution Setup, your can delete the assignment using the Delete context menu option.
Notes about running scripts
Use the Scripting toolbar to run simple scripts which involve one image and one VOI. Use the Run Script menu option to run more complicated scripts which apply to multiple images and VOIs. You can also use the Scripting menu to execute the same script multiple times.
For example, you can consider to use the toolbar option to execute the script while you are setting the script parameters and/or testing it; and after the script has been tested and debugged, you can run it over the set of images via the Scripting menu.
MIPAV Script Tool dialog box
|
Script Execution Setup window
|
Contains a list of images and associated VOIs.
|
|
|
Images
|
Lists the images that appear in the script
| |
|
Add image from file
|
Allows you to add one or more images on which to run the script.
| |
|
VOIs from selected file
|
Lists any saved VOIs that are necessary when you run the script.
| |
|
Add VOI from file
|
Allows you to add one or more VOIs to the script.
| |
|
File menu
| ||
|
Open saved image and VOI selections
|
Opens the corresponding dialog box, which allows you to browse through the folders and select an image file or VOI with any specified extension.
| |
|
Save current image and VOI selections
|
Allows you to save the selected image or VOI.
| |
|
View current script contents
|
Opens a window that shows the script contents. Here, you can only select the script contents and copy it to the Clipboard using the CTRL C combination of keys.
| |
|
Close
|
Closes the Script Execution Setup.
| |
|
Run Script
|
Begins running the script.
| |
Tip: To speed up the process of associating VOIs with images, you can open all of the images at once and all of their associated VOIs at once. The Images box shows all of the images selected and the VOI box lists all of the VOIs selected. Select an image in the Images box and then select the VOI that applies to that image. Drag the image and VOI to the Script Execution Setup pane. Repeat these steps for as many images and VOIs as you need.
