How to specify the location of a plugin in the MIPAV menu and Image Math: Difference between pages
m (1 revision imported) |
m (1 revision imported) |
||
| Line 1: | Line 1: | ||
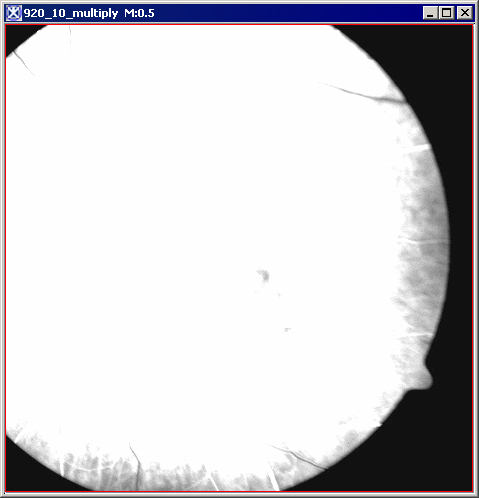
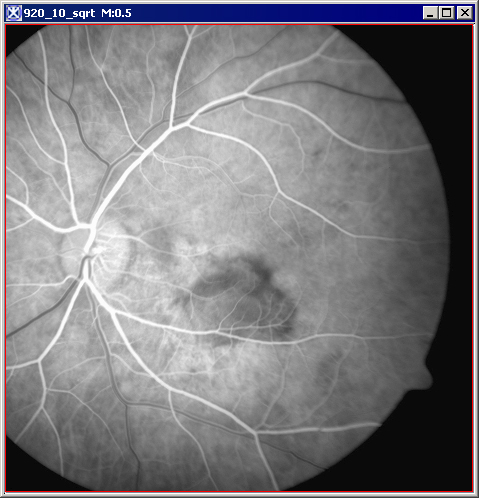
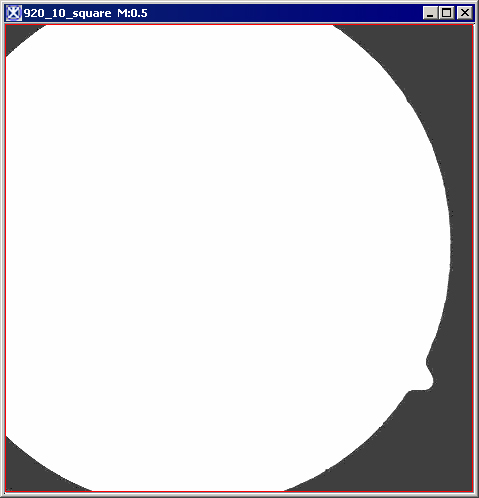
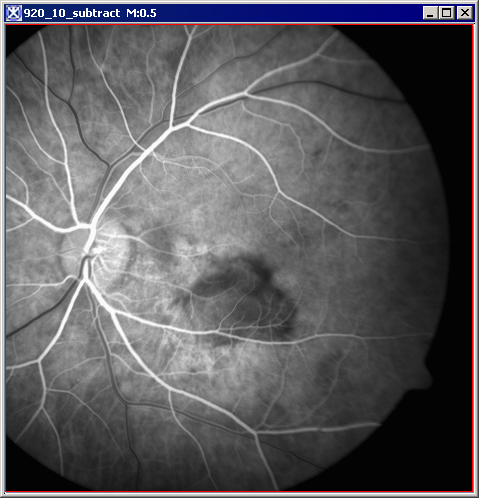
Algorithm that adds, subtracts, multiplies, or divides an image by some user specified value. In addition, the square root, absolute value, or log of an image can be calculated. If the new image exceeds the range that can be stored in an image of that type, the data is either clipped and stored in the original image or a new image of a type (int, float...) that can store the range of new data is generated.<br /> | |||
== | == Image types == | ||
You can apply Image Calculator to all 2D and 3D grayscale images. And here is the difference between Image Math and Image Calculator (refer to "Image Calculator"). The last one you can ally to all types of images 2D, 3D, 4D color and grayscale.<br /> | |||
== Applying the Image Math to images == | |||
< | To run this algorithm, complete the following steps: | ||
1 Open an image of interest.<br /> | |||
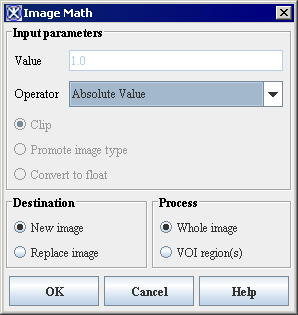
</ | 2 Select Utilities >Image Math. The dialog box opens. See Figure 39.<br /> | ||
3 Use the Operator list box to select the math operator (Absolute value, Add, Average, etc.).<br /> | |||
4 Use the Value text box to enter a numerical value.<br /> | |||
5 Select the Clip option if you want to clamp result data to the bounds of the input image type. Select the Promote option to promote image type so that the range of the result fits into the new image type. Select the Convert to Float option to convert the result into float image type.<br /> | |||
6 Click OK. The algorithm begins to run.<br /> | |||
7 Depending on whether you selected New Image or Replace Image, the result appears in a new window or replaces the image to which the algorithm was applied. See also Figure 39.<br /> | |||
=== | {| border="1" cellpadding="5" | ||
|+ '''Figure 39. The Image Math dialog box options ''' | |||
|- | |||
| | |||
<div class="CellHeading">Value</div> | |||
| | |||
<div class="CellBody">Enter the numerical value here. Note that the text box become available after you select the math operator.</div> | |||
| rowspan="3" colspan="1" | | |||
[[Image:ImageMathDialogBox.jpg]] | |||
|- | |||
| | |||
<div class="CellHeading">Operator</div> | |||
| | |||
<div class="CellBody">Select the math operator from the list.</div> | |||
|- | |||
| | |||
<div class="CellHeading">Clip</div> | |||
| | |||
<div class="CellBody">Select this option if you want the result image to be clamped at the maximum (minimum) value of the original image data type. </div> | |||
|- | |||
| | |||
<div class="CellHeading"> </div> | |||
| rowspan="1" colspan="2" | | |||
<div class="CellBody">See also "clip mode".</div> | |||
|- | |||
| | |||
<div class="CellHeading">Promote image type</div> | |||
| rowspan="1" colspan="2" | | |||
<div class="CellBody">When this mode is selected and the result value is out of the legal range of the original image data type, then the result image type is promoted to a new data type with a data type range capable of expressing the minimum and maximum values. See also "promotion mode".</div> | |||
|- | |||
| | |||
<div class="CellHeading">Convert to float</div> | |||
| rowspan="1" colspan="2" | | |||
<div class="CellBody">When this mode is selected and the result value is out of the legal range of the original image data type, then the result image type is converted to float data type.</div> | |||
|- | |||
| rowspan="1" colspan="3" | | |||
<div class="CellHeading">Destination</div> | |||
|- | |||
| | |||
<div class="CellHeading">New image</div> | |||
| rowspan="1" colspan="2" | | |||
<div class="CellBody">The result image will open in a new image frame.</div> | |||
|- | |||
| | |||
<div class="CellHeading">Replace image</div> | |||
| rowspan="1" colspan="2" | | |||
<div class="CellBody">The result image will replace the original image.</div> | |||
|- | |||
| rowspan="1" colspan="3" | | |||
<div class="CellHeading">Process</div> | |||
|- | |||
| | |||
<div class="CellHeading">Whole image</div> | |||
| rowspan="1" colspan="2" | | |||
<div class="CellBody">The algorithm applies to the selected VOI(s) region.</div> | |||
|- | |||
| | |||
<div class="CellHeading">VOI region</div> | |||
| rowspan="1" colspan="2" | | |||
<div class="CellBody">The algorithm applies to the whole image.</div> | |||
|- | |||
| | |||
<div class="CellHeading">OK</div> | |||
| rowspan="1" colspan="2" | | |||
<div class="CellBody">Applies the algorithm according to the specifications in this dialog box. </div> | |||
|- | |||
| | |||
<div class="CellHeading">Advanced</div> | |||
| rowspan="1" colspan="2" | | |||
<div class="CellBody">Calls the Enter Advanced Operator dialog box.</div> | |||
|- | |||
| | |||
<div class="CellHeading">Cancel</div> | |||
| rowspan="1" colspan="2" | | |||
<div class="CellBody">Disregards any changes that you made in this dialog box and closes it.</div> | |||
|- | |||
| | |||
<div class="CellHeading">Help</div> | |||
| rowspan="1" colspan="2" | | |||
<div class="CellBody">Displays online help for this dialog box.</div> | |||
|} | |||
== | ==== Examples of using Image Math ==== | ||
=== | {| border="1" cellpadding="5" | ||
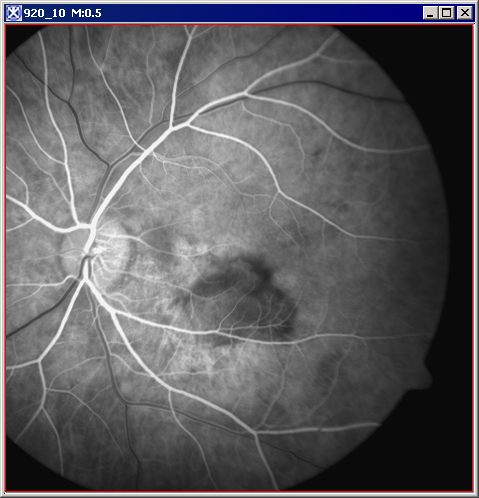
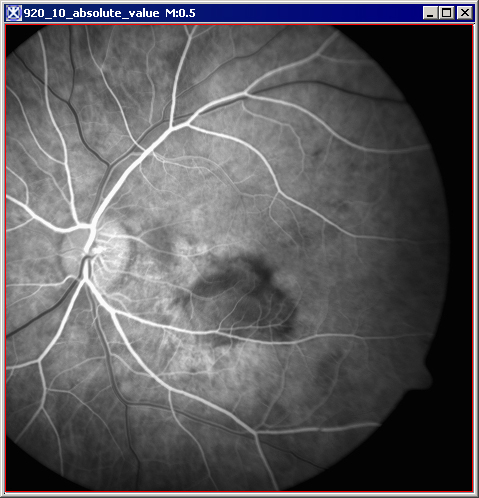
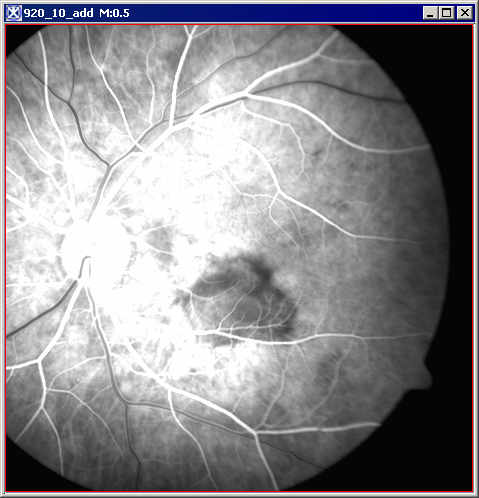
|+ '''Figure 40. Applying Image Math to images ''' | |||
|- | |||
| | |||
[[Image:ImageMathOriginal.jpg]] | |||
| | |||
[[Image:ImageMathAbsoluteValue.jpg]] | |||
<br /><div class="CellBody">Absolute value</div> | |||
|- | |||
| | |||
[[Image:ImageMathAdd100.jpg]] | |||
<br /><div class="CellBody">Add 100</div> | |||
| | |||
[[Image:ImageMathAverage.jpg]] | |||
<br /><div class="CellBody">Average</div> | |||
|- | |||
| | |||
[[Image:ImageMathConstantToVOI.jpg]] | |||
<br /><div class="CellBody">Constant</div> | |||
| | |||
[[Image:ImageMathDivideBy100.jpg]] | |||
<br /><div class="CellBody">Divide by 100</div> | |||
|- | |||
| | |||
[[Image:ImageMathLog.jpg]] | |||
<br /> <div class="CellBody">Log</div> | |||
| | |||
[[Image:ImageMathMultilyBy5.jpg]] | |||
<br /><div class="CellBody">Multiply by 5</div> | |||
|- | |||
| | |||
[[Image:ImageMathSamplesSquare.jpg]] | |||
<br /><div class="CellBody">Square</div> | |||
| | |||
[[Image:ImageMathSquareRoot.jpg]] | |||
<br /><div class="CellBody">Square root</div> | |||
|- | |||
| | |||
[[Image:ImageMathSubtract5.jpg]] | |||
<br /><div class="CellBody">Subtract 5</div> | |||
| | |||
[[Image:ImageMathSum.jpg]] | |||
<br /><div class="CellBody">Sum</div> | |||
|} | |||
== See also: == | |||
[[Inverting the image]] | |||
[[Category:Help]] | [[Category:Help]] | ||
Latest revision as of 16:28, 9 February 2024
Algorithm that adds, subtracts, multiplies, or divides an image by some user specified value. In addition, the square root, absolute value, or log of an image can be calculated. If the new image exceeds the range that can be stored in an image of that type, the data is either clipped and stored in the original image or a new image of a type (int, float...) that can store the range of new data is generated.
Image types
You can apply Image Calculator to all 2D and 3D grayscale images. And here is the difference between Image Math and Image Calculator (refer to "Image Calculator"). The last one you can ally to all types of images 2D, 3D, 4D color and grayscale.
Applying the Image Math to images
To run this algorithm, complete the following steps:
1 Open an image of interest.
2 Select Utilities >Image Math. The dialog box opens. See Figure 39.
3 Use the Operator list box to select the math operator (Absolute value, Add, Average, etc.).
4 Use the Value text box to enter a numerical value.
5 Select the Clip option if you want to clamp result data to the bounds of the input image type. Select the Promote option to promote image type so that the range of the result fits into the new image type. Select the Convert to Float option to convert the result into float image type.
6 Click OK. The algorithm begins to run.
7 Depending on whether you selected New Image or Replace Image, the result appears in a new window or replaces the image to which the algorithm was applied. See also Figure 39.
|
Value
|
Enter the numerical value here. Note that the text box become available after you select the math operator.
|
|
|
Operator
|
Select the math operator from the list.
| |
|
Clip
|
Select this option if you want the result image to be clamped at the maximum (minimum) value of the original image data type.
| |
|
|
See also "clip mode".
| |
|
Promote image type
|
When this mode is selected and the result value is out of the legal range of the original image data type, then the result image type is promoted to a new data type with a data type range capable of expressing the minimum and maximum values. See also "promotion mode".
| |
|
Convert to float
|
When this mode is selected and the result value is out of the legal range of the original image data type, then the result image type is converted to float data type.
| |
|
Destination
| ||
|
New image
|
The result image will open in a new image frame.
| |
|
Replace image
|
The result image will replace the original image.
| |
|
Process
| ||
|
Whole image
|
The algorithm applies to the selected VOI(s) region.
| |
|
VOI region
|
The algorithm applies to the whole image.
| |
|
OK
|
Applies the algorithm according to the specifications in this dialog box.
| |
|
Advanced
|
Calls the Enter Advanced Operator dialog box.
| |
|
Cancel
|
Disregards any changes that you made in this dialog box and closes it.
| |
|
Help
|
Displays online help for this dialog box.
| |
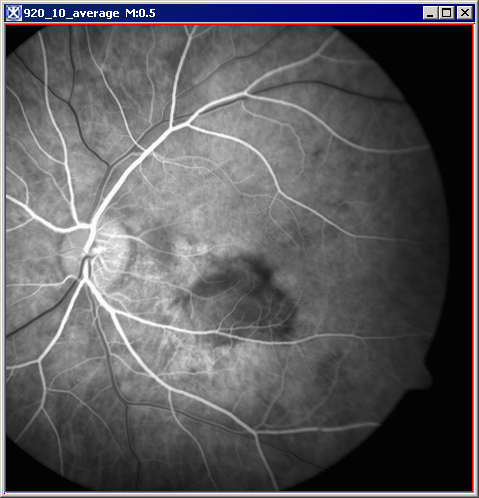
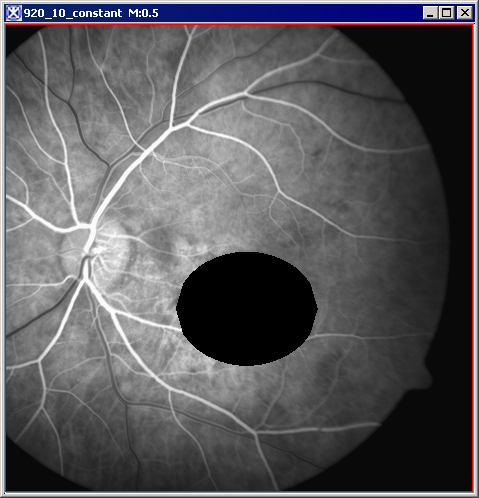
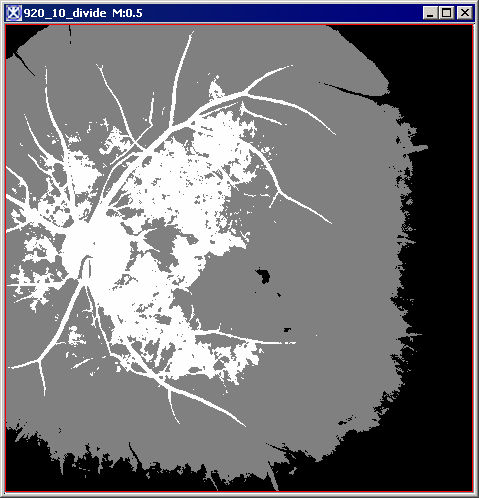
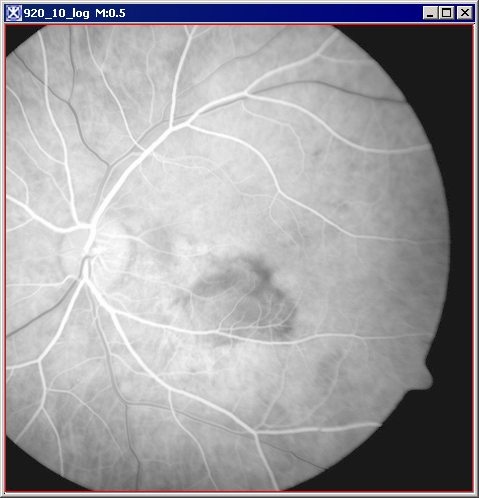
Examples of using Image Math
|
Absolute value
| |
|
Add 100
|
Average
|
|
Constant
|
Divide by 100
|
|
Log
|
Multiply by 5
|
|
Square
|
Square root
|
|
Subtract 5
|
Sum
|
